Managing Your BarTender Documents |
Use
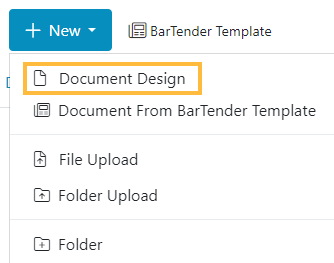
You can also create a new BarTender document by using a preconfigured template or the BarTender Cloud Designer. Your new document is ready to print right away and is saved in BarTender Cloud in the space and folder that you specify.
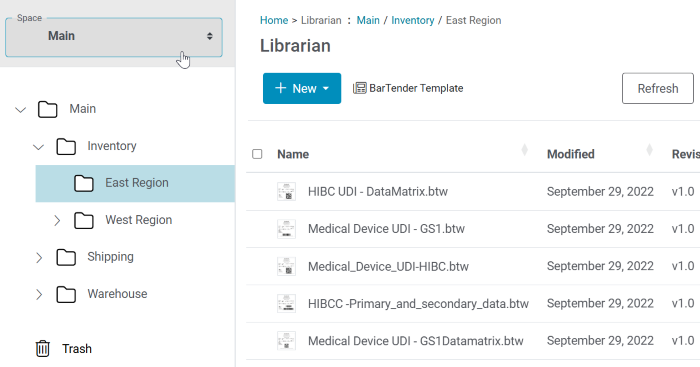
 on the toolbar, and then click Librarian.
 ![]() To open a file in Librarian from the Home page
To open a file in Librarian from the Home page
Creating a New BarTender Document from a Template
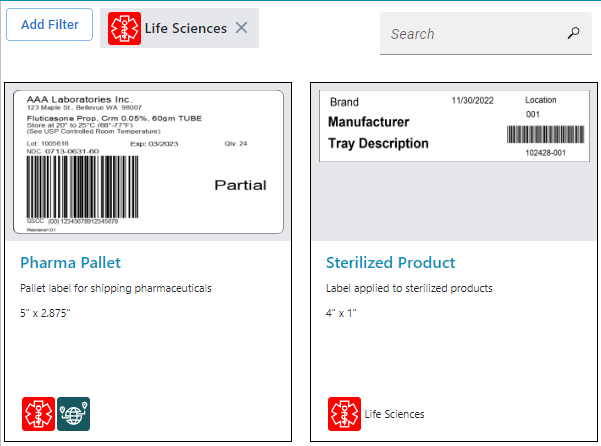
BarTender Cloud provides a variety of preconfigured templates that you can use to print labels quickly and efficiently without using BarTender Designer. When you create a new BarTender document by using a template, the document is saved in BarTender Cloud in the space and folder that you specify.
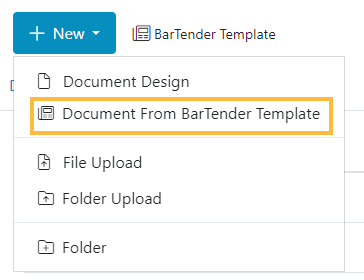
![]() To create a new BarTender document by using a preconfigured template
To create a new BarTender document by using a preconfigured template
Creating a New BarTender Document by Using BarTender Cloud Designer
BarTender Cloud includes a cloud-based version of BarTender Designer, called BarTender Cloud Designer, which you can use to create and edit BarTender documents. When you create a new BarTender document by using BarTender Cloud Designer, the document is saved in BarTender Cloud in the folder that you specify.
![]() To create a new document by using BarTender Cloud Designer
To create a new document by using BarTender Cloud Designer
Uploading Documents and Folders
To get started with BarTender Cloud, upload documents, files, images, and folders on the Librarian page.
BarTender documents that use data entry forms, cloud database connections, and embedded database tables are supported for uploading.
|
|
For security purposes, BarTender documents that contain certain actions are not supported for uploading. |

Creating New Folders
To help you organize your documents, you can create any number of folders and subfolders.
To create a new folder
-
In Librarian's folder navigation pane, select the space (if applicable) and folder in which you want to create the new folder.
-
On the toolbar, click New, and then click Folder.
Managing Documents and Folders
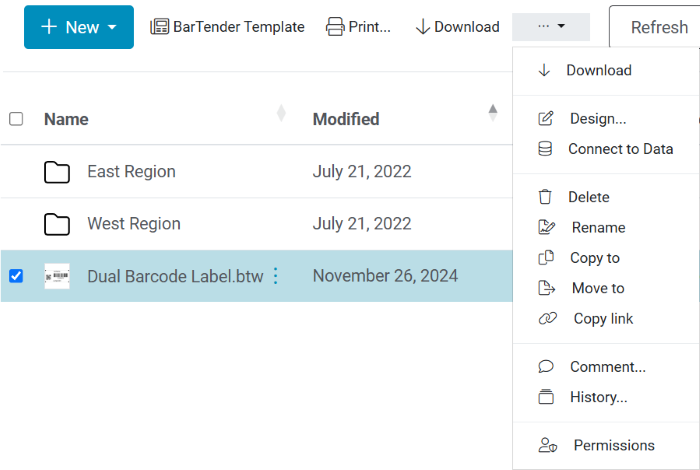
When you select a document or folder in Librarian's item list pane, you can use the options on the toolbar above the pane to perform various operations, such as printing, downloading, and copying. You can also add revision comments to a document, view the revision history, and assign permissions to access the selected item to specific users and groups.
The options that appear on the toolbar vary depending on your permissions to access a particular item, on whether an item is selected, and on what type of item is selected.
|
|
Depending on the size of your browser window, some of these options might not be visible. In this case, click |
 to view these options in a menu, as shown.
Using Workflows
A workflow is a series of steps that define the life cycle of a BarTender Cloud document or other file. A customizable workflow defines the states and transitions of the process and helps you manage the life cycles of your files and documents. If your subscription includes workflows, BarTender Cloud provides customizable workflows that enable you to define and control these business processes.
Workflows are created and managed in the Workflow section of the Design group.
Use the Librarian to move a document through a workflow.
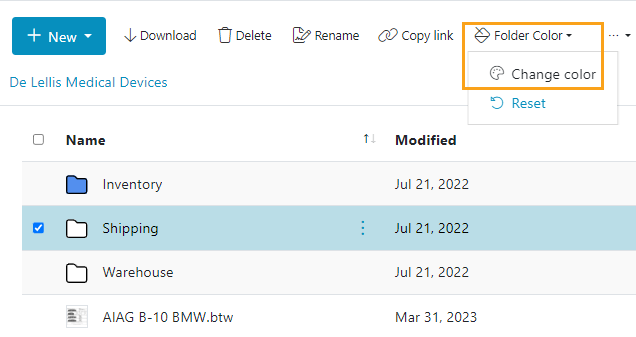
Color-coding Folders
To make your documents easier to find, you can change the color of the folder icons. To do this, select the folder that you want, click Folder Color on the toolbar, click Change color, and then use the color selector to select the color that you want.
Related topics