Creating Spaces
Administrators can create and modify spaces on the Manage Spaces page.
-
On the BarTender Cloud menu, click Administration, then Spaces to open the Manage Spaces page.
-
Click the New Space button.
-
In the Display Name field, enter the name that will be displayed in the Space dropdown on the Librarian and Print Console pages.
This is the name by which the space is known. It also displays when working in the space.
-
In the Space Identifier field, enter the space's ID.
The ID is used in the space's URL and therefore can contain only URL-friendly characters.
-
In the Description field, enter a description of the space.
-
Click Change Icon if you want to use a different icon. This link displays a collection of icons you can choose from.
-
To change the color of the icon, click the Icon Color list and choose from the colors listed there.
-
In the Availability field, choose whether the space is visible to all users, or is hidden and therefore only available to Administrators.
-
In the Permissions section, click
 to add a group, user, or service account to the space.
-
Select the groups, users, and/or service accounts you want to define permissions for.
-
Click Add.
-
For each item in the Permissions panel, click
 then assign the permissions for that group, user, or account.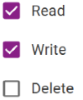
-
-
Click Create Space.
When you select a newly created space in Librarian, it displays like this.
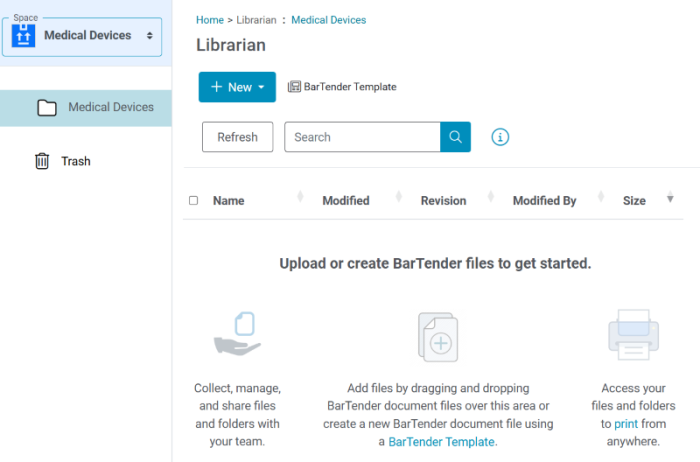
When you select a newly created space in Print Console, it displays this notification.

Once you upload a file to the space, the getting started information and blue banner are no longer displayed.
Related topics