/*---------------------------------------------------------------------------------------------
Authenticate */
// This will allow the user to extract an authentication token
// Change the two variables to your credentials
let username = "domain\\username";
let password = "password";
// Change these to the URL
let basePrintPortalURL = "https://example.com/Bartender/";
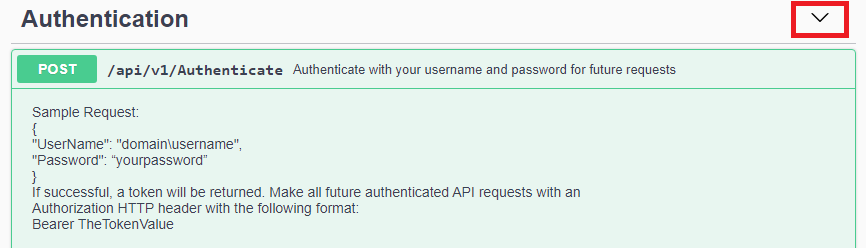
// First step, authentication
fetch(basePrintPortalURL + 'Authenticate', {
method: 'post',
headers: {
'Content-Type': 'application/json',
},
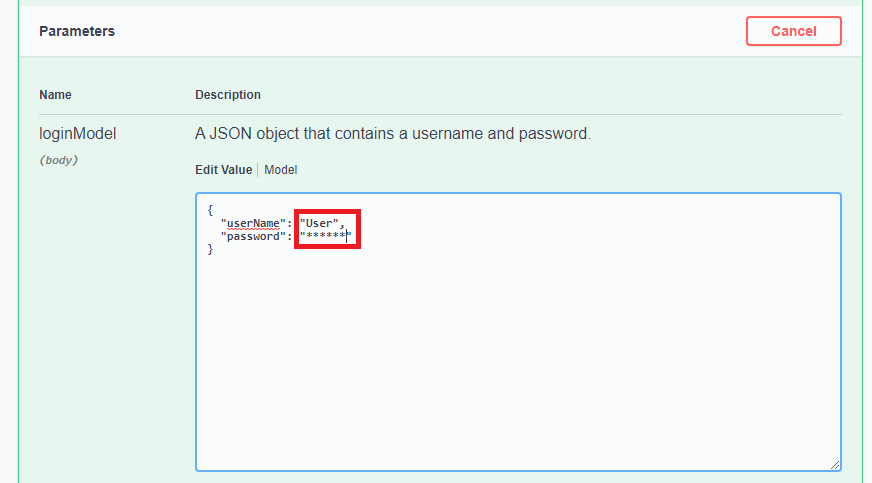
body: JSON.stringify({
"username": username,
"password": password
})
})
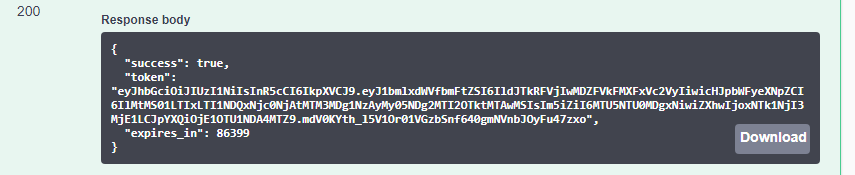
//The response will be a JSON object which contains a token and expiration
.then(response => response.json())
.then(result => {
console.log('Success:', result);
//If successful, a token will be returned as the result
// Token will be used on the header of print call using the header 'Authorization': 'Bearer ' + token
})
.catch(error => {
console.error("The user name or password provided is incorrect.");
});